
Release date: November 20, 2012
With the release of CardExchange® 7.1 we are definitely have chosen a different way for the configuration of CardExchange™. In this release of CardExchange™ we are introducing full drag and drop functionality for database data, but also manual entries.
The CardExchange™ Designer is becoming the configuration tool for CardExchange™. That means that we have taken the first step and embedded the database configuration functionality into the Designer. When calling the Designer, from the Configuration menu and choose 'Card Setup
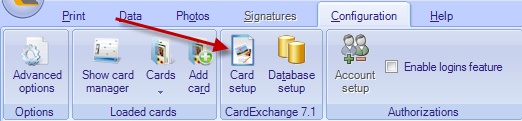
We also took special care about the naming. Where we had to deal with naming like Edit Definitions, we now have chosen for using names like Card Setup, Database Setup, etc.
Like stated, also the Designer is now named differently when you start the Card Setup mode
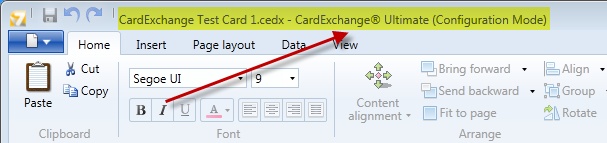
Depending of the edition running, CardExchange™ will have the edition mentioned in the header followed by (Configuration Mode). That makes more sense for the end-user to make him aware that he has a, in this example, a Ultimate edition and is working in configuration mode.
In the configuration mode you see that there is a new tab available called Data
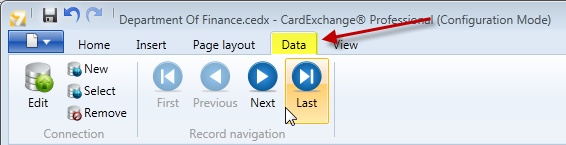
In this Data tab you can now define your database connections by selecting from the Connection section:
•Edit
•New
•Select
•Remove
When you click on Edit or New, the Database connection wizard will start and you can follow the process as has always been. After creating a new database connection, you will be asked to store this connection on a location on your computer. So you do not define the name anymore before you start, but just like in all Windows application, at the end. When you choose Select, an existing database connection can be selected.
The Data tab also contains an Record navigation section. This gives you the opportunity to browse through the data of the connected database to see if all fits into the objects you have on the layout.
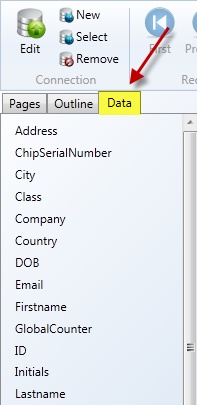
After you have created a new database connection, you will see that a new tab in the explorer window at the right side:
|
The data tab contains all the available database columns from the database or connected Excel file.
It is now just a matter of selecting one of the columns and drag it to the layout of the card. |
When you have the Properties window opened, you can also find a new tab called Database columns:
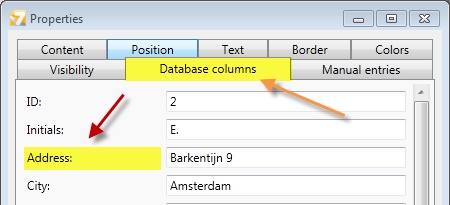
Also here you can select the available database columns and drag them to the layout of the card. Overall it does not matter how you want to get the data on the layout anymore. You can select and drag it to the card, you can directly select the database or object when adding a new object to the layout, and if you need to change something, just select the database column and throw it into the content text box... It is that easy!
IMAGE OBJECTS LIKE PHOTO'S AND SIGNATURES
Also the image objects are changed. To make sure there is no confusion with the end-user, the moment a image object is selected, you will be offered 4 choices:
•Fixed image
•Photo
•Signature (Starting Premium Edition)
•Variable Image (Starting Premium Edition)
When the database column contains the image data, the object will now directly know what to do. No selection is needed for the user. It will also generate the point to image file for connections to images via Excel.
DEFINING MANUAL ENTRIES
Also new is the creation of Manual Entries. In the Properties window you can find a new tab called Manual Entries.
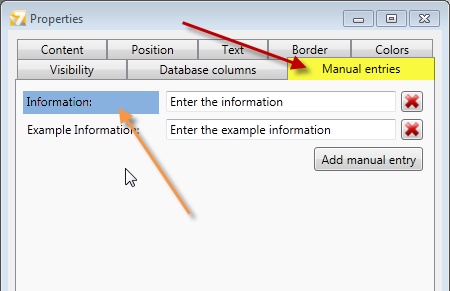
Just click on Add manual entry and enter a label, indicated as 'Label1', and enter a standard value, indicated as 'Value1'. After you have created the manual entry, just select it with the mouse and drag it onto the card layout. In the content tab of the Properties, you can set all the needed options.
